
Docker is an amazing and powerful tool. It makes deployments incredibly easy and reproducible.
Deploying with Docker and Docker Compose allows you to quickly and easily spool up multiple servers on a single machine using simple and reusable configurations to fit your needs.
Install Docker
This guide will assume you are using a headless server to host your Docker containers. On a headless machine you can follow the instructions to install Docker Engine.
If your server is using a desktop environment, then it is likely easier to just install Docker Desktop.
Determine Configuration Options
I always use PaperMC servers as I have found them to be nice and performant while also being compatible with a ton of plugins. The Docker image I like to use has options for a variety of servers.
You will need to configure 5 options when creating your server.
- external server port
- external RCON port (optional)
- RCON password
- Server memory limit
- server type
I like to use a .env file to make deployments easier for me to configure, but this is optional as you can set the environment variables/configuration options in the Docker Compose file itself.
To use a .env file, you need to create a file literally named .env in the same directory your docker-compose.yml file will go. I recommend creating a new folder/directory for this specific Minecraft server. In this case I will make a directory named my-server.
Create the .env file at my-server/.env with the following contents:
# Port you want the server to run on
EXTERNAL_SERVER_PORT=25565

# Optional: Port you want RCON to run on
EXTERNAL_RCON_PORT=25575

# Configure for your machine: The memory limit for your Minecraft server
MEMORY=6G

# Configure: The password you want to use for admin access to RCON
RCON_PASSWORD=DO_NOT_USE_THIS_AS_A_REAL_PASSWORD
Compose File
Now that you have your /my-server/.env configured, go ahead and create a file in this directory called docker-compose.yml
Edit your file at /my-server/docker-compose.yml to look like this:
services:
  mc:
    image: itzg/minecraft-server
    ports:
      - ${EXTERNAL_SERVER_PORT}:25565
      - ${EXTERNAL_RCON_PORT}:25575
    env_file:
      - .env
    environment:
      EULA: "TRUE"
      TYPE: "PAPER"
    tty: true
    stdin_open: true
    restart: unless-stopped
    volumes:
      - ./data:/data
The docker-compose.yml file is as follows:
- Use the itzg/minecraft-server Docker image to create a server
- Set the container to use the ports you specified in your
.envexternally, but continue to use the default Minecraft ports inside of the container - Specify that we would like to use the environment file in this directory named
.env. Specifying the file as.envis not necessary since Docker Compose will load in the.envfile by default, but I like to include it so that I do not forget to configure these extra options - I always want to agree to the
EULAand set my server type toPAPER, so I have added those environment variables as part of the compose file, but these options could also go in your.envinstead ttyandstdin_openshould be set totruein order to allow connecting to RCON via thercon-cli. You may not wish to use RCON and can delete these lines.- Finally we mount a volume on our host machine named
dataand bind it to the internal container directory also nameddata
Running The Container
The simplest way to start your Minecraft server is to run the container using docker compose up --build -d. This starts and builds the container and also specifies that it should run detached. Running detached allows you to logout/use your machine without the container stopping.
Running Multiple Servers
The above docker compose command only works if you are running a single Minecraft server. In order to ensure we can run multiple containers at once using this same image, we will need to specify a project-name (-p for short). This gives each container running a Minecraft server a name and allows for deploying multiple similar containers. The full command is docker compose -p my_server_name up --build -d, where my_server_name is a unique name to identify your docker container.
Another important step to running multiple servers is to adjust your config accordingly. Generally, you should be able to make a new directory and copy-paste your docker-compose.yml and .env files to this new directory. You will also need to change the following settings:
- EXTERNAL_SERVER_PORT
- This needs to be changed to avoid conflicts on the host machine (you can increment the port number for each container you host, i.e 25565 + 1, port = 25566)
- EXTERNAL_RCON_PORT
- Also needs to be changed to avoid conflicts, can be incremented, 25575 + 1, port = 25576
- RCON_PASSWORD
- Should be changed for security
How To Install Plugins
What is a Minecraft server without a few plugins?
This step is fairly flexible and can be adjusted if there are any tools you prefer. If you are using a desktop environment, you just download the plugin and move the plugin to your data/plugins directory and skip the rest of these instructions.
I like to use wget to install plugins straight into my plugins directory after the container has been built. After starting your container for the first time, you should be able to see the data directory created within your current directory. Navigate to data/plugins and find the plugin you would like to install. I typically use spigotmc.org for my plugins. Unfortunately, SpigotMC does not appreciate you using non-browser tools to access their website and may throw a 403 error response when attempting to download a plugin using wget. Ideally the plugin you choose either has a download link from another website or you are able to navigate to that plugin's Github and download a release from there. dev.bukkit.org does not have this issue with blocking non-browser clients.
Once you have followed the links to find the download you want, you can right click the download button/link and copy the link address.
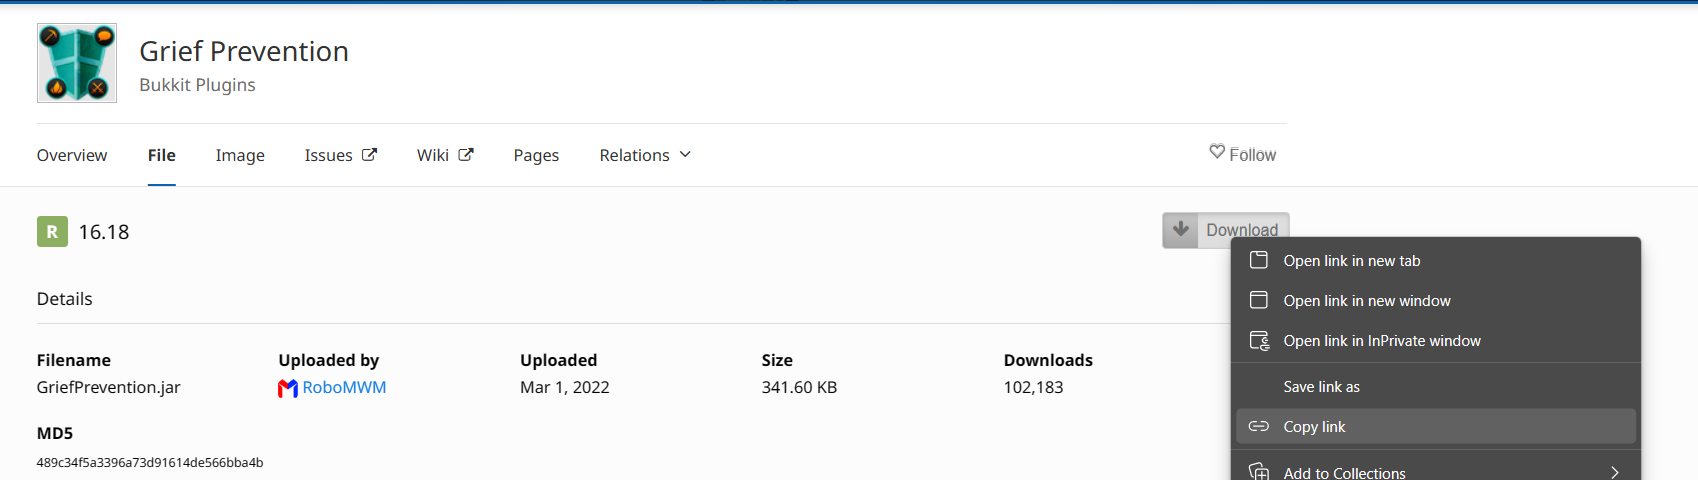
Once you have the download URL, you can run the command in your data/plugins directory wget -O pluginName.jar plugin-download.com where pluginName.jar is the filename you would like to save your plugin as (it must end in .jar) and plugin-download.com is the actual URL to the plugin download. -O is shorthand for specifying the output-document
In order to install the grief prevention plugin, I would navigate to data/plugins and enter the command:
wget -O GriefPrevention.jar https://dev.bukkit.org/projects/grief-prevention/files/3668748/download
To activate your plugin, you just need to restart your server using docker compose up --build (remember that you must also name your container with -p if you wish to run multiple Minecraft servers on one machine).
Conclusion
Once your server is running in Docker, you will need to follow the typical steps of hosting any Minecraft--finding your host machine's IP address, port forwarding, setting up DNS records, etc.
Hosting Minecraft in Docker can be an easy and manageable way to deploy and maintain multiple Minecraft servers. It makes your deployments easy to reproduce and once you have the above steps down, there is not a lot of variation between server deployments. Happy mining.
Member discussion: